Helm is a package manager for Kubernetes that simplifies the installation and upgrade of applications, functioning as a centralized repository to find and share software.

Company
Getup

Now let's talk about Helm and the ease it brings to installing packages. Helm is a package manager; the best way to find, share, and install software for Kubernetes. Imagine an npm, a dockerhub, a pip or maybe a homebrew… a package centralizer that makes your life easier when installing/updating a package.

Helm is maintained by CNCF along with Microsoft, Google, Bitnami and the Helm community.
We will also explore one of the most used packages in Kubernetes, which is Istio, used to connect, control, and observe services, in addition to ensuring security.

When using Istio in production, it is important to know at what stage the desired features are (alpha, beta, stable), as this directly impacts how maintenance will need to be done.
We don't want any phone calls in the middle of the night, right?
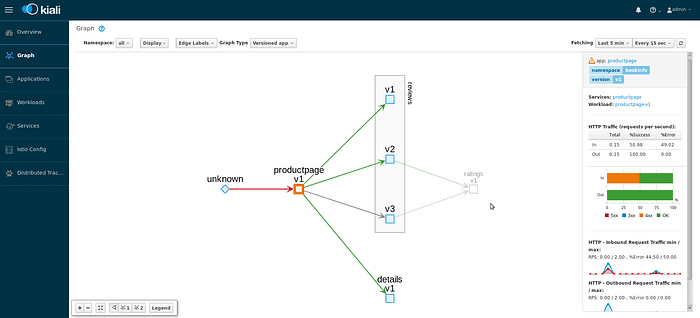
To bring a cool experience, we will also use Kiali, which is a package that brings an admin so you can visually track what is happening with your Istio.
Attention
If you have done the previous tutorial, it is important to run the commandminikube destroy, as Minikube consumes a lot of memory and cpu and can get very slow if we keep adding things on top of it before cleaning it completely. If you are still doing the previous tutorial or want to upgrade/change your database & webapp, do not run the command as it will reset everything we did previously.
Some tasks in this tutorial may take a while to finish, so I suggest allocating at least 4GB of memory when starting Minikube.
minikube start --memory=4096 --cpus=4
If you are on macOS, remember to add the flag--vm-driver=xhyve
Installing Istio & istioctl
First step is to download Istio:
curl -L https://git.io/getLatestIstio | sh -
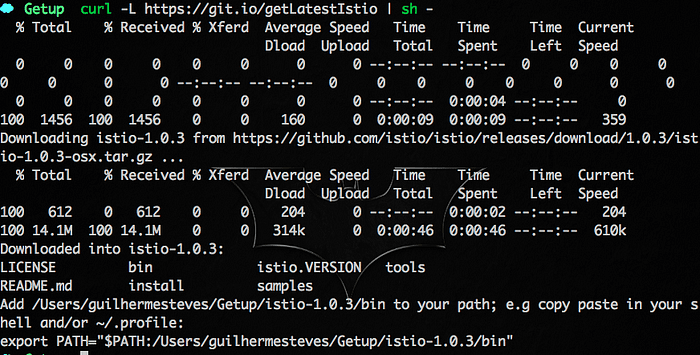
After that, let's move it to bin, instead of simply adding the folder where it was downloaded to the path, as shown in the image.
cd istio-1.0.3
sudo mv bin/istioctl /usr/local/bin

The istioctl command will be available for you through the command line:

Still inside the Istio folder, let's create the Tiller Service Account:
kubectl create -f install/kubernetes/helm/helm-service-account.yaml

Initialize Tiller in the cluster:
helm init --service-account tiller
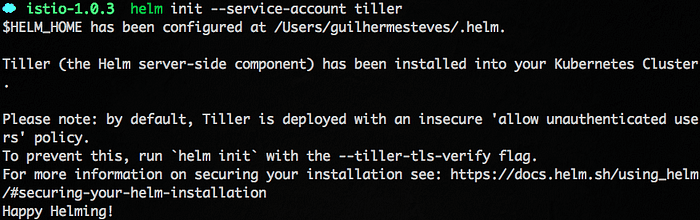
After that, the Tiller pod should be created to proceed (bearing in mind that, depending on the resource allocation you set in the minikube start, the creation of this pod may take a while).
To see if it is created, just run:
kubectl -n kube-system get po
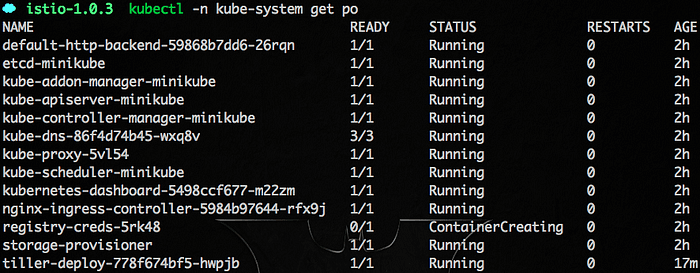
Despite having allocated 4GB, it took approximately 15 min for the container to be created, so if you proceed without waiting for it to be created, you might see the following error:
Error: could not find a ready tiller pod
Finally, let's install Istio:
helm install install/kubernetes/helm/istio --name istio --namespace istio-system
After creating, just run the following command to check if everything is ok:
kubectl get svc -n istio-system
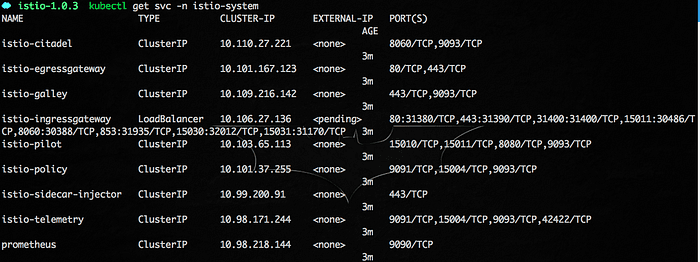
Let's also verify the status of the pods created by Istio:
kubectl get pods -n istio-system
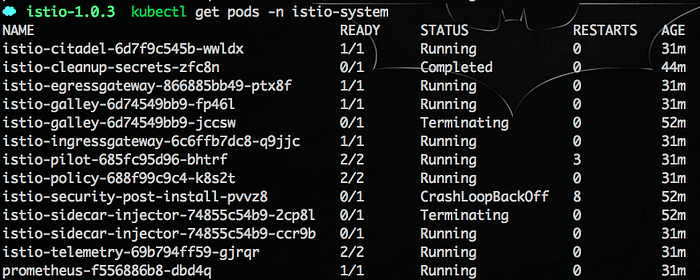
As you can see, a pod entered CrashLoopBackOff and I went to research to understand what happened. Investigating, I found out that this can happen due to some installation error (like minikube slowness), causing istio-cidatel-* to be mounted beforehand, making the secrets that istio-security-post-install-* needs to run unavailable. The solution (workaround) I found was to force the deletion of the pod so it could be successfully recreated and finished without errors.
kubectl delete pod istio-security-post-install-pvvz8 -n istio-system --grace-period=0 --force

Now the istio-security-post-install-* finished successfully:
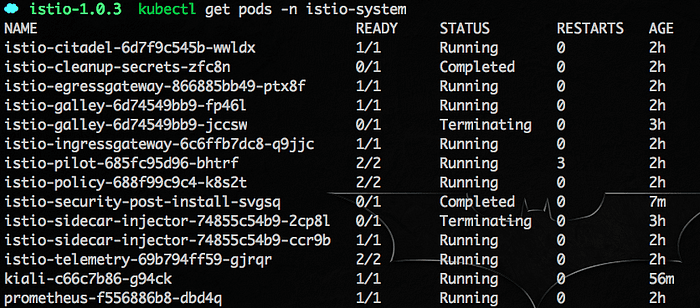
Installing an Istio sample application
Now, let's install Bookinfo, which is a sample application from Istio itself, composed of four separate microservices used to demonstrate various Istio features.
The application displays information about a book, similar to a single catalog of an online bookstore. On the page, there is a book description, book details (ISBN, book pages, and so on), and some book reviews. It is divided into four separate microservices:
productpage (Product page): The productpage microservice calls the details and reviews microservices to populate the page
details (Details): The details microservice contains book details
reviews (Reviews): The reviews microservice contains book reviews. It also calls the ratings microservice
ratings
(Ratings): The ratings microservice contains book rating information that accompanies a book review.
kubectl apply -f samples/bookinfo/platform/kube/bookinfo.yaml
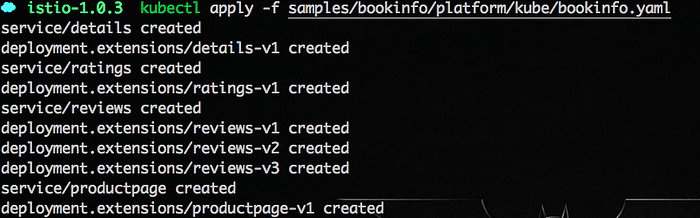
Now let's define the Ingress gateway:
istioctl create -f samples/bookinfo/networking/bookinfo-gateway.yaml

Let's check if everything is up, starting with the services:
kubectl get services
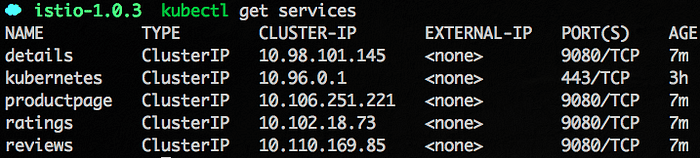
And the pods:
kubectl get pods
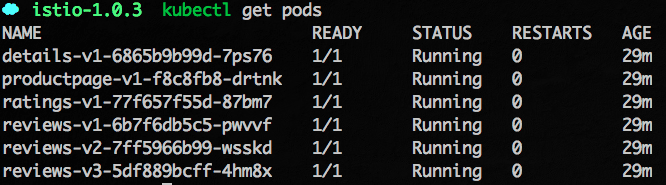
Time to confirm that the application is up and running perfectly.
export INGRESS_HOST=$(minikube ip)export INGRESS_PORT=$(kubectl -n istio-system get service istio-ingressgateway -o jsonpath='{.spec.ports[?(@.name=="http")].nodePort}')export GATEWAY_URL=$INGRESS_HOST:$INGRESS_PORT

Run the command echo $GATEWAY_URLto make sure you have an IP and a port, otherwise, you will need to change the port by looking up http2 instead of http in the specs, like this:

Just check in the browser, the URL like this in Linux:
xdg-open http://${GATEWAY_URL}/productpage
Or on macOS:
open http://${GATEWAY_URL}/productpage

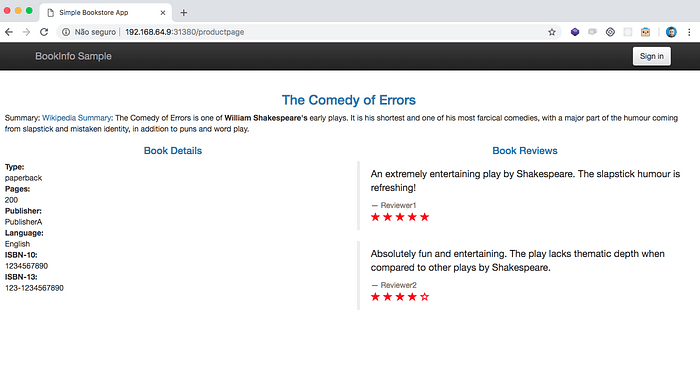
Installing Kiali to make everything more visual
The first thing is that we'll need to use a command calledenvsubst which comes in Ubuntu by default, but does not exist in macOS. If you are using macOS, you will need homebrew to run the following commands and install the gettext package:
brew install gettext
brew link --force gettext
Let's get to work! First we will download some Kiali files that are fundamental for its installation:
The Configmap:
curl https://raw.githubusercontent.com/kiali/kiali/master/deploy/kubernetes/kiali-configmap.yaml | \
VERSION_LABEL=master envsubst > kiali-configmap.yaml

The Secrets:
curl https://raw.githubusercontent.com/kiali/kiali/master/deploy/kubernetes/kiali-secrets.yaml | \
VERSION_LABEL=master envsubst > kiali-secrets.yaml

And Kiali itself:
curl https://raw.githubusercontent.com/kiali/kiali/master/deploy/kubernetes/kiali.yaml | \
IMAGE_NAME=kiali/kiali \
IMAGE_VERSION=latest \
NAMESPACE=istio-system \
VERSION_LABEL=master \
VERBOSE_MODE=4 envsubst > kiali.yaml

Once you have all the necessary files, it is time to create them in the namespace istio-systemthat we created in Minikube in the previous steps:
kubectl create -f kiali-configmap.yaml -n istio-system

kubectl create -f kiali-secrets.yaml -n istio-system

kubectl create -f kiali.yaml -n istio-system
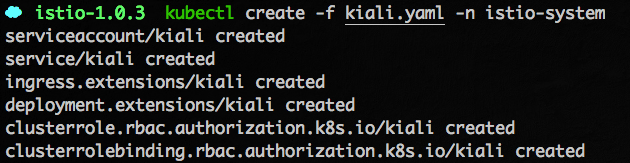
Let's check if everything was created correctly, first verifying the services with the command:
kubectl get svc kiali -n istio-system

Just remember that the port showing up here (in my case 30788) is important as we will use it to access the admin panel.
And then the pods:
kubectl get pods -n istio-system
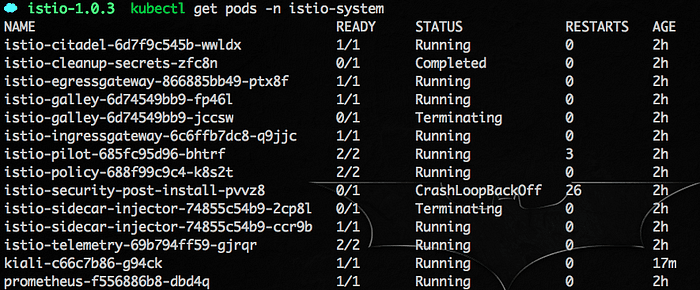
The second to last pod was successfully created. Now just type minikube ip to find your Minikube IP and use it with the port we found earlier:
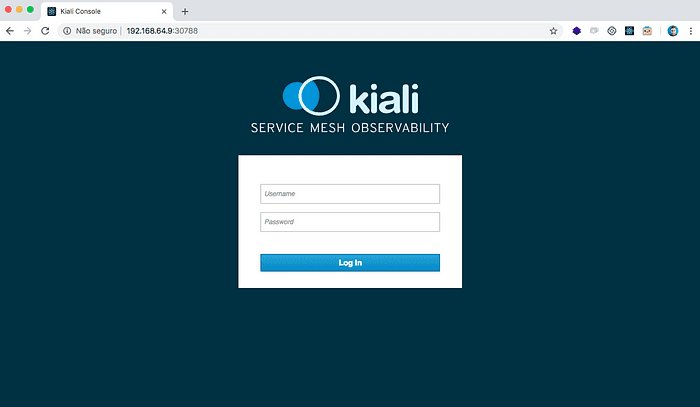
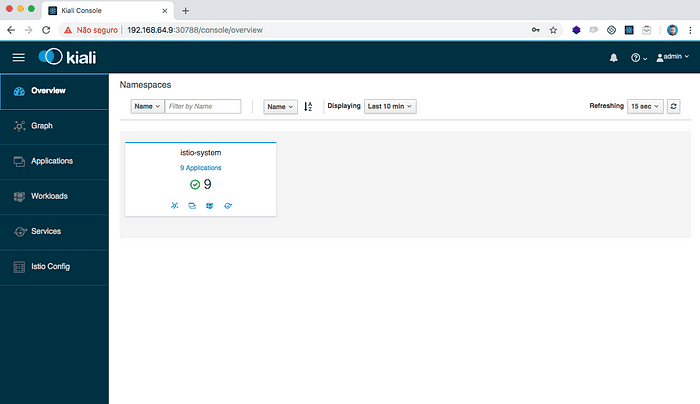
Just log in with admin admin to see the Overview (this credential is located in the file kiali-secrets.yaml that we downloaded at the beginning of the installation):
Hey, wait up, don't go yet
For more information regarding Helm, Istio & Kiali; check out the links below:
Author: Guilherme Esteves
Newsletter Getup.
Atualizações sobre Kubernetes e Software Supply Chain Security todos os meses.
Operating Kubernetes in production for more than 13 years. With Quor, this experience extends to software supply chain security as well.
GET UP
© Getup · 2026